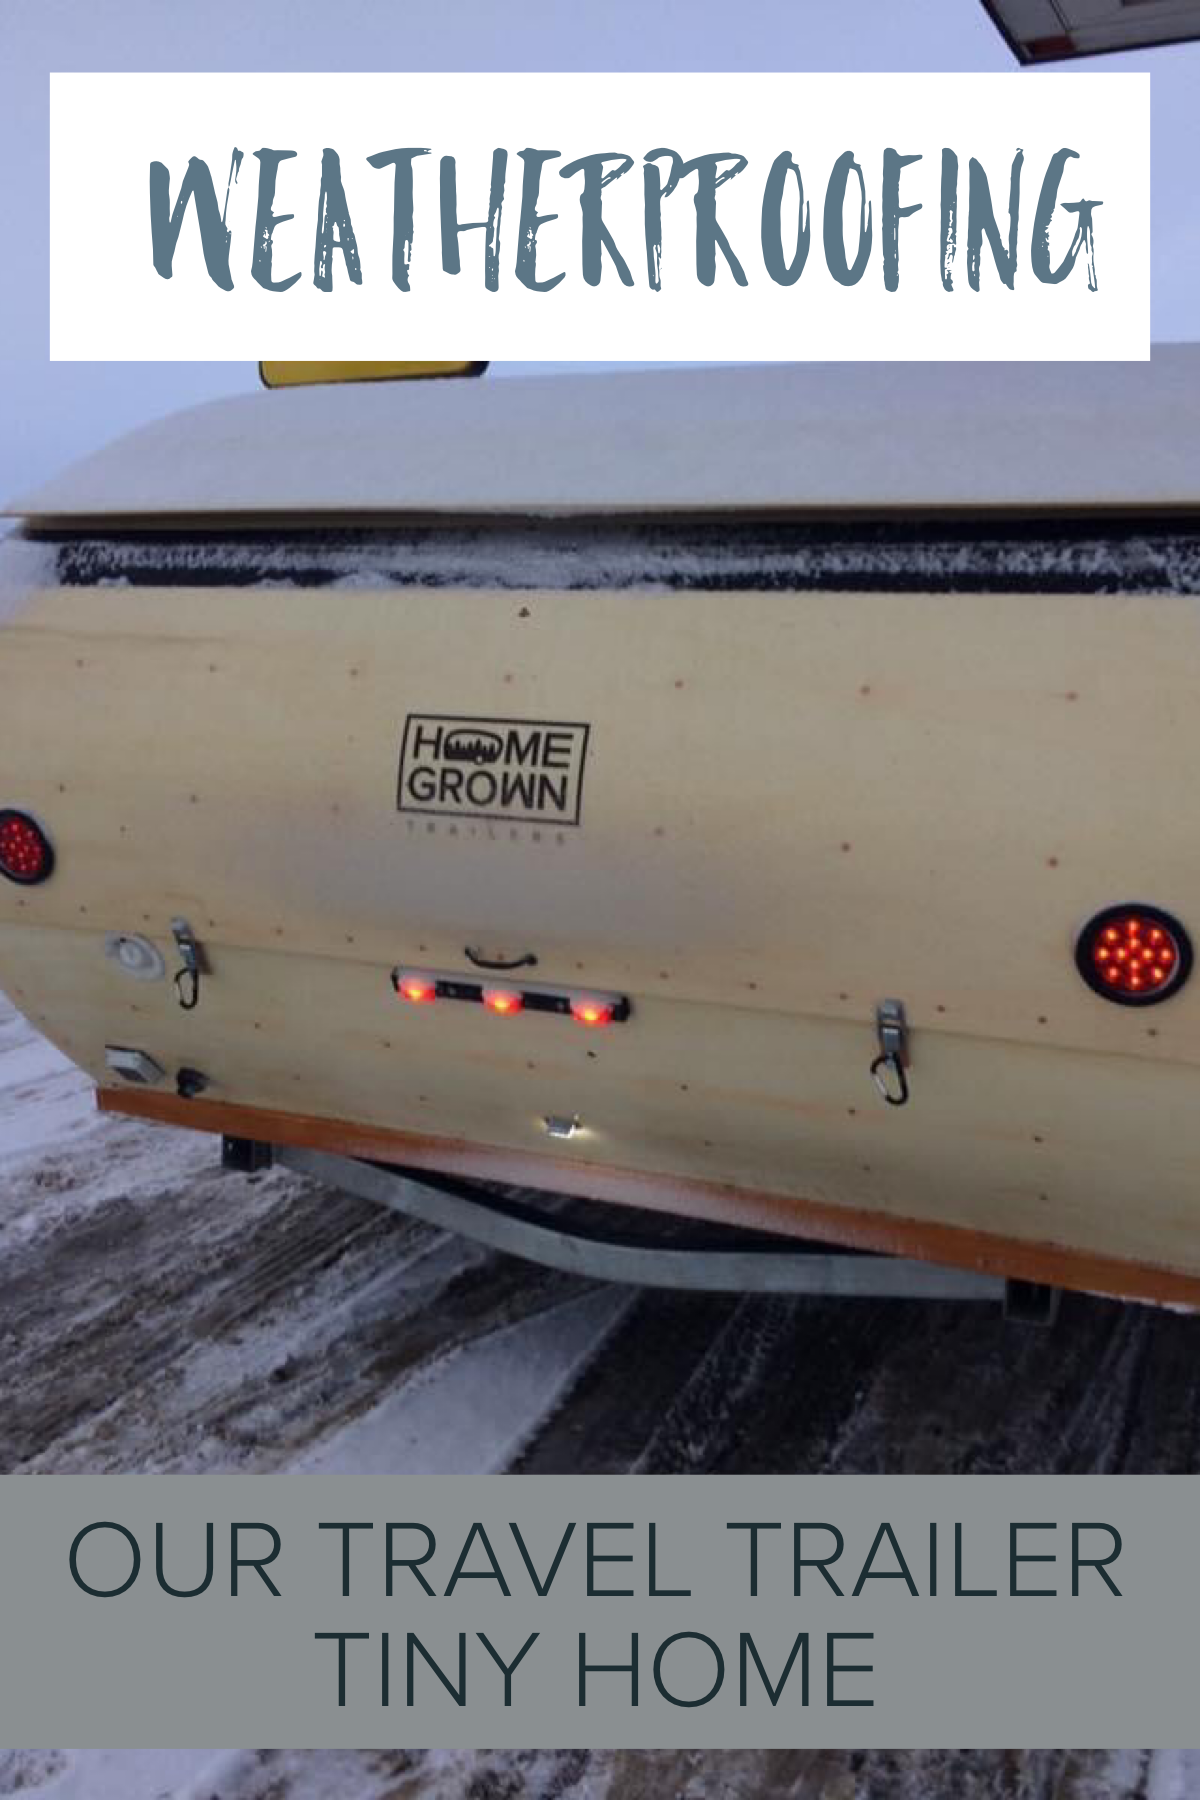
Weatherproofing Our Tiny Home
When we purchased our travel trailer from Homegrown they informed us that it was not originally built for living full time. That being said, they were very excited for us to give it a go and see what we could do in terms of weatherproofing our tiny home.
· Related: Our Tiny Travel Trailer Home ·
 Even though the trailer is perfect for camping, we were not sure how well it would hold up in crazy weather. Luckily for us, it does pretty well but it took a few alterations.
Immediately after getting the tiny home, we were in Ohio for a four-month WINTER placement. This meant cold and wet. We didn't want to have to use more than a space heater and a heated blanket so making sure we stayed warm and dry in the home was a big priority.

Disclosure: Links throughout the Mindful Nomadics site may make us a small commission at no additional cost to you. See our Affiliate Disclosure for more information.
We had to focus on two main things when it came to weatherproofing our trailer:
- Insulation
- Leaking
Contents
Weatherproofing Our Trailer: Insulation
The very first week we lived in the trailer full time the weather in Ohio went crazy and dropped down into the single digits and teens for the high. With just our one tiny 200W ceramic space heater we were freezing so we splurged for a new and improved 1500W space heater.
We only have to use the low setting, even in the coldest days and it keeps the trailer nice and toasty. So the heater wouldn't have to work too hard we made full adjustments that helped.
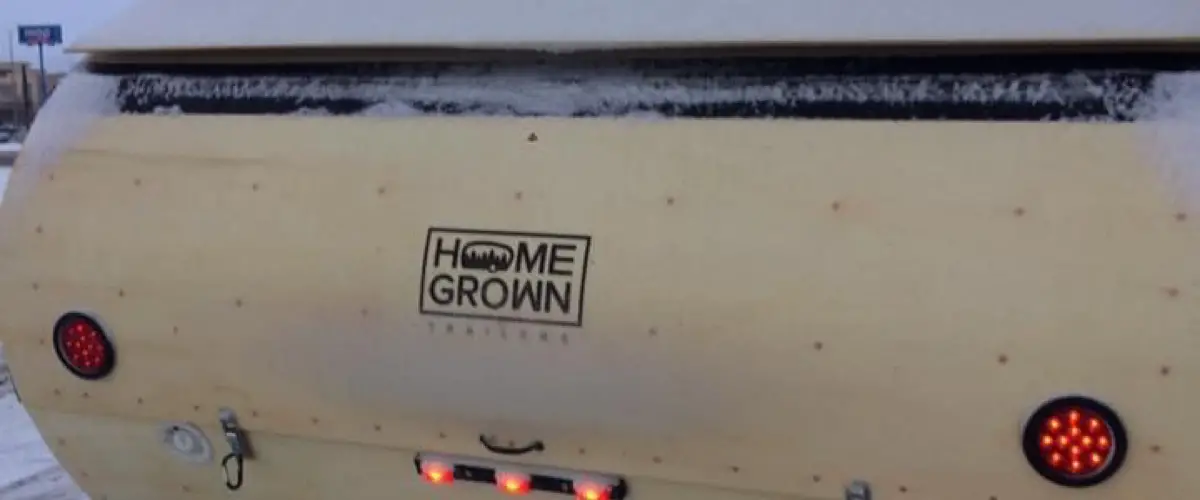
Back Hatch
There is a back compartment for extra storage. Unfortunately, this has areas that are open due to it being used as storage when the top is down. That meant we had to come up with a way to cover the top and the sides.
Sides
 Kelsey sewed two long pieces that fit perfectly in the open sides. It's made out of fabric filled with cotton for extra insulation. This area is not directly outside so it did not have to be waterproof.
Top
 The top part of the compartment is completely open. This means if it rains all that water can go into our extra storage.
We wanted to keep our extra kitty litter there so we knew we had to fix this right away. This is where Kelsey's family stepped in and custom made a piece to fit in perfectly.
They took waterproof wood, added some handles and a few other things for a perfect fit. It has worked great and even with it raining several times the compartment stays dry.
Windows
For the back windows, we put special plastic wrap from the store used for window insulation. We decided to only do it for the back window as it is the largest and most breezy.
We also added 3 curtains: one for the bathroom for privacy and cold control, one over the kitchen window, and one over the back window. Kelsey sewed all of the curtains to fit the windows perfectly and we put them up using tension rods, rings and command strip hooks.
Flooring
This was the easiest step and one of the first we made. All we had to do was buy a nice thick rug.
We bought a small one and put it by the sink. This way it's there to stand on when getting ready in the morning or when cooking.

Weatherproofing Our Trailer: Waterproofing
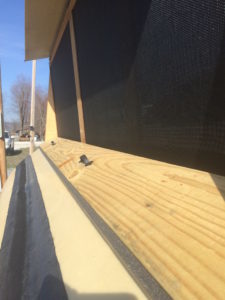
 We had a couple of leaks with some heavy rain so Homegrown Trailers kindly sent us some repair kit items and Phil was able to put them onto the trailer immediately. This improved drainage and reduced the likelihood of water getting into the trailer.
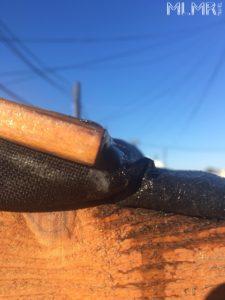
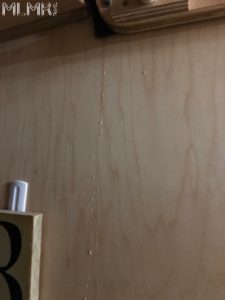 The most leaking comes in at pivot points where the gutter routes the water. During most rainstorms, it holds up but if it's a big storm, then we get some dripping. We also have some drips along the side walls there the top slides into.
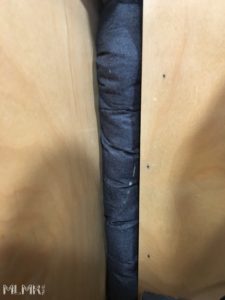
To waterproof, we only had to do a few things.
- Add some rubber tubing into the slots between the walls and space where the top slides into
- Place extra silicone sealant on areas that seemed to have the worst time with letting water in
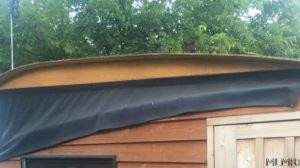
- Get an outside covering
The outside covering was made by Homegrown and we like to think of it as the "jacket" for the tiny trailer home. We don't love the look of the jacket but it helped with letting less water in. It also helped with insulation.
Overall, Homegrown has been extremely helpful and diligent in trying to make our new home perfect for us so we are extremely happy to have chosen them for this trailer. Most people might not be comfortable doing what we do and living out of a trailer and we understand that.
Hopefully, our journey can help you realize where you can downsize in your life and where you can live with less. And if you have any tips for us on how we can improve our weatherproofing or the trailer in any way, let us know! We are always trying to improve!
One final thing, if you are ever in Seattle and looking for a unique experience, rent a trailer from Homegrown Trailers. Trust us, you won’t regret it. You might not end the weekend thinking you can live in a trailer full time but you will not be disappointed by the experience!
· Mindful Nomadics on Social Media ·
Instagram | Facebook | Twitter | Pinterest | YouTube